SOCIAL MEDIA

11.21.2014

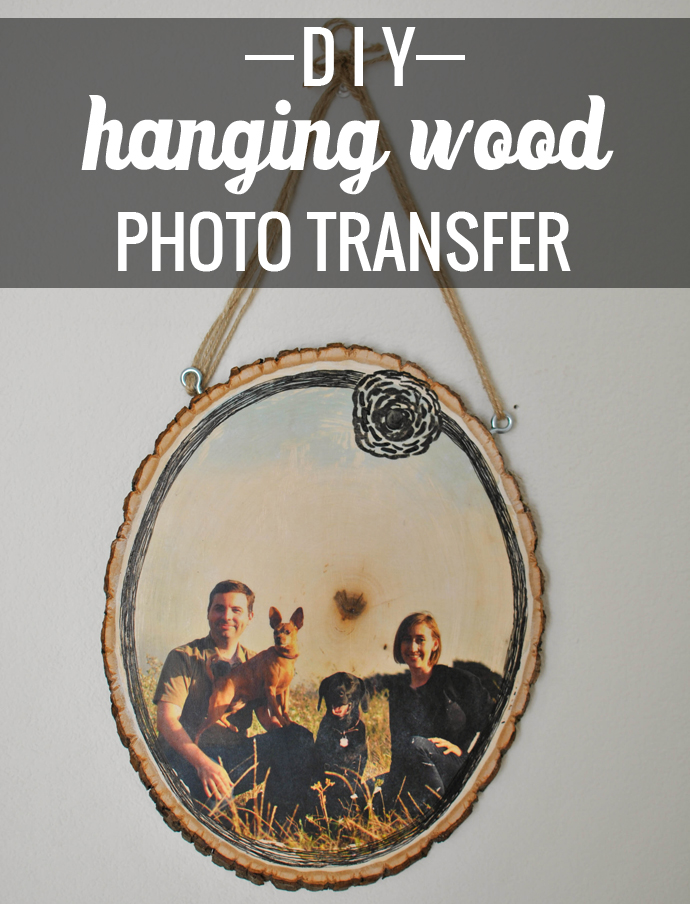
Create // DIY Hanging Wood Photo Transfer

photo transfer, diy, wood, gift, craft
I've been pretty excited to share this DIY with you guys! I wish that I had the time/innovation to share more DIYs here on the blog, so it is always nice when I am able to whip something fun together! I decided to make this project as a wedding gift for my cousin, as it would be personal since I used a photo I took of her and her husband, it would be something unique that no one else would give them, and because it would be kind on my wallet.

This project is fairly easy and can be completed in a day or two. I think this is something anyone would love to receive as a gift, and is something you could make to add a personal touch to your home.
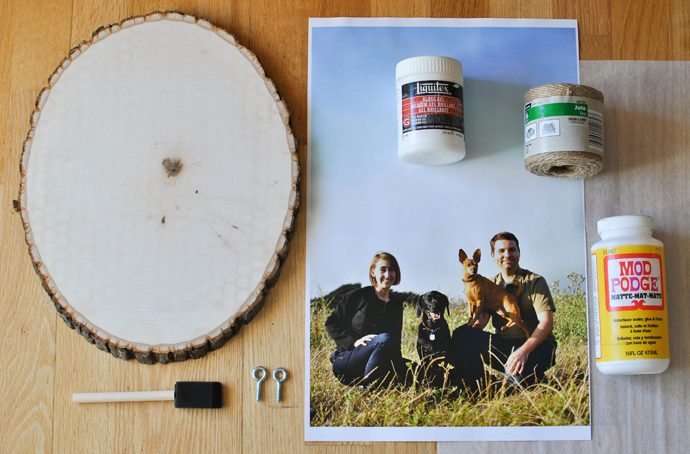
photo transfer, diy, wood, gift, craft
Here's what you'll need:
+ Wood plank of your choice ($11)
+ Laser printed image on normal paper ($1.50)
*Be sure to "mirror" the image before printing if you care about its orientation after transfer*
+ 1 sheet tracing paper
+ Gel Medium
+ Mod Podge
+ Foam brush
+ Twine ($2)
+ 2 loop screws ($1.50)
+ scissors
+ cloth rag
+ small bowl of water
+ pencil
+ drill or screw driver

optional for decorating:
+ brush & ink
+ pens                                                                                            What this project cost me: $16
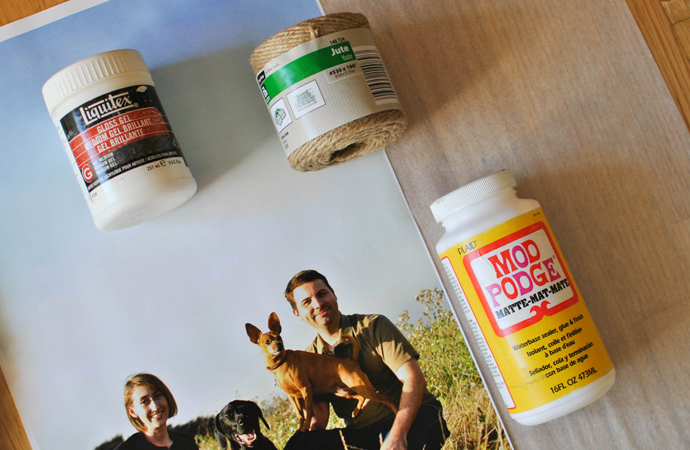
photo transfer, diy, wood, gift, craft photo transfer, diy, wood, gift, craft
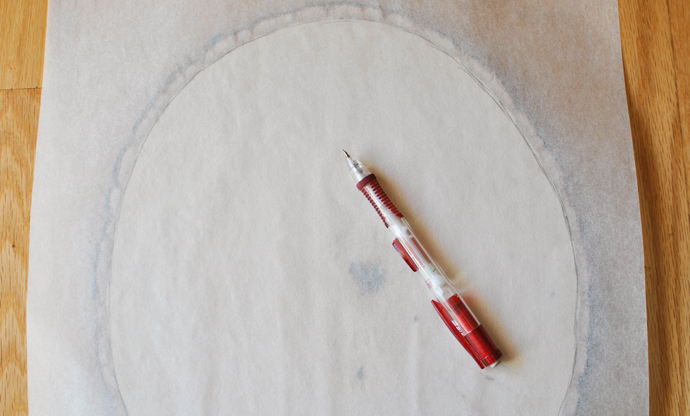
Step 1: Use a sheet of tracing paper and a pencil to around the area of the wood plank that you would like your image to cover. Cut this shape out.
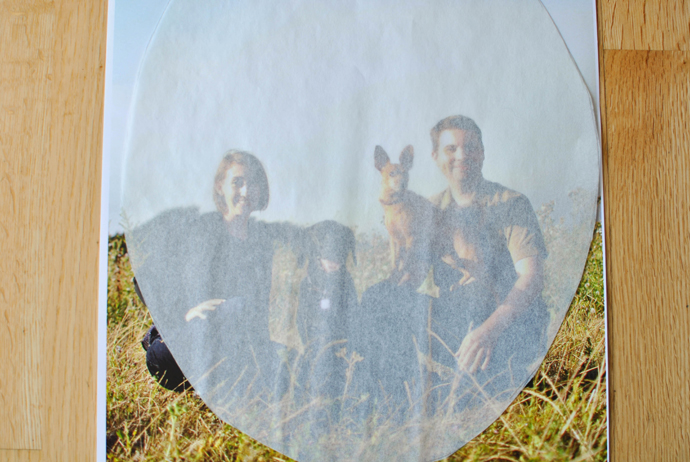
photo transfer, diy, wood, gift, craft
Step 2: Place tracing paper cutout over image and decide what part of the image you would like on the wood plank. Trace this area around the shape of the tracing paper. Cut this shape out.

Note: You may want to turn the tracing paper over to the flip side when you are deciding on and tracing the area of the image, as you will be turning the photo face down when you glue it to the wood plank and the area it covers may be a little off since the wood isn't a perfect oval.
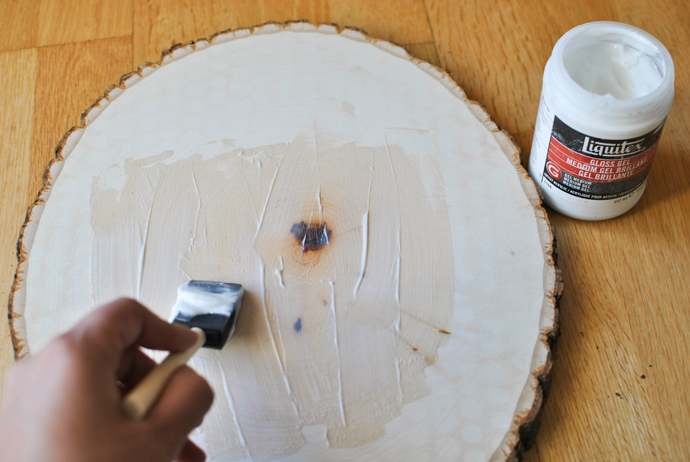
photo transfer, diy, wood, gift, craft
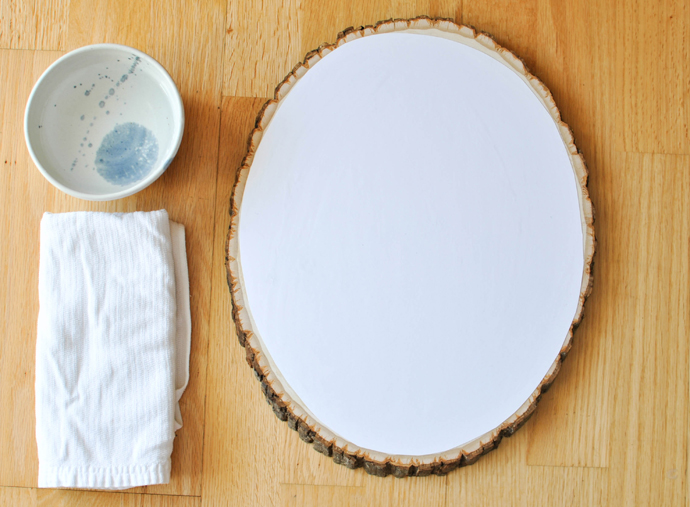
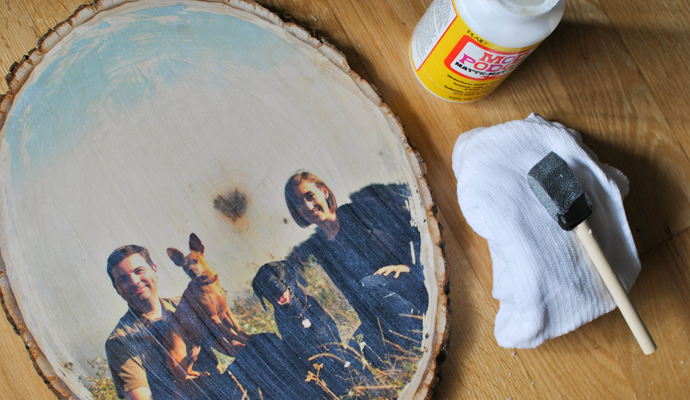
Step 3: Spread an even layer of gel medium on to the wood plank.photo transfer, diy, wood, gift, craft
Step 4: Place cutout image face down on to wood plank. Let completely dry (a few hours or over night) before moving on to the next step. photo transfer, diy, wood, gift, craft
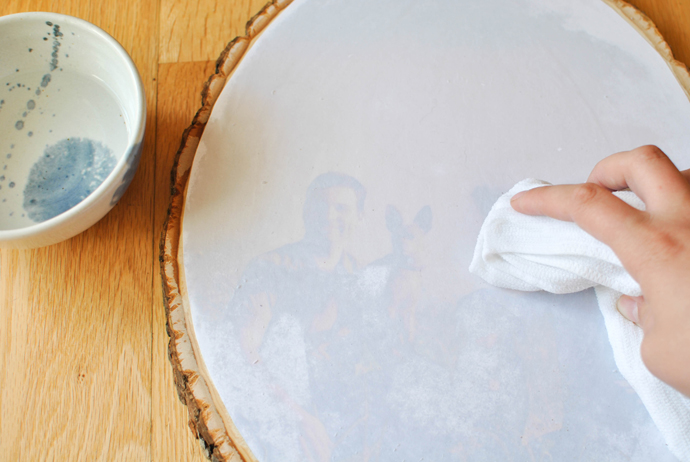
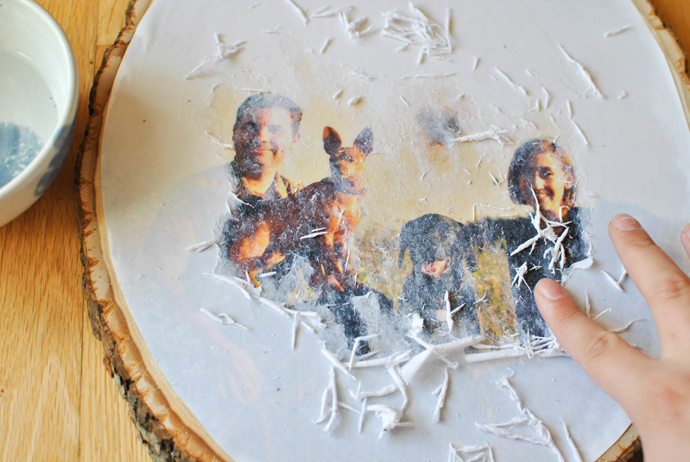
Step 5: After it is completely dried, use a damp cloth to wet the surface of the paper. You can keep adding a bit more water as you go.photo transfer, diy, wood, gift, craft
Step 6: Using your fingers, gently rub paper until fibers peel off.photo transfer, diy, wood, gift, craft
Step 7: Continue this process until all paper fibers are gone.
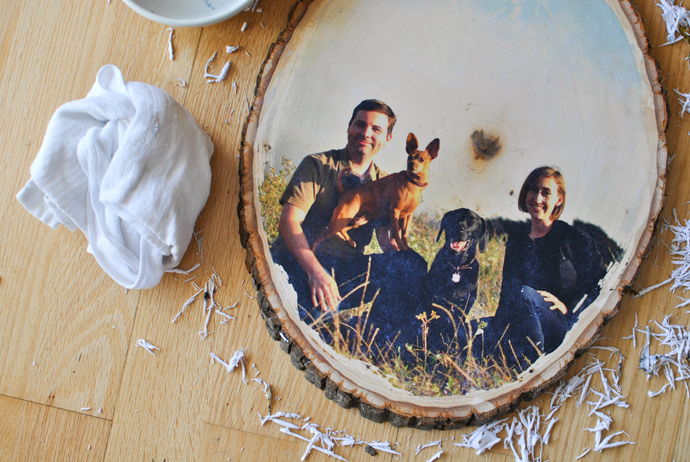
photo transfer, diy, wood, gift, craft
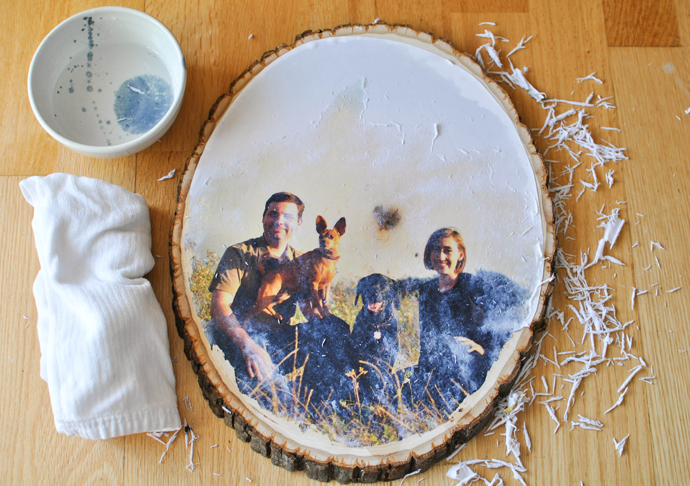
Hint: You may have to let the wood dry a bit to see where paper is left on the surface, then repeat the rubbing process until al of it is gone.
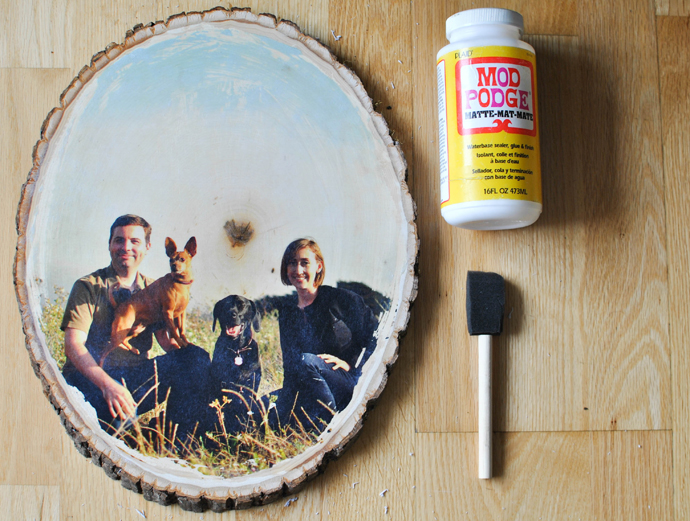
photo transfer, diy, wood, gift, craft
Step 8: While surface is still wet (or wet it when you are ready for this step) and the colors are at their most vibrant, use a foam brush to paint an even layer of Mod Podge over the image. The Mod Podge will dry clear and this is what will set the surface of the image/wood to keep the colors vibrant.
photo transfer, diy, wood, gift, craft photo transfer, diy, wood, gift, craft
Step 9: Let Mod Podge dry completely (a few hours).
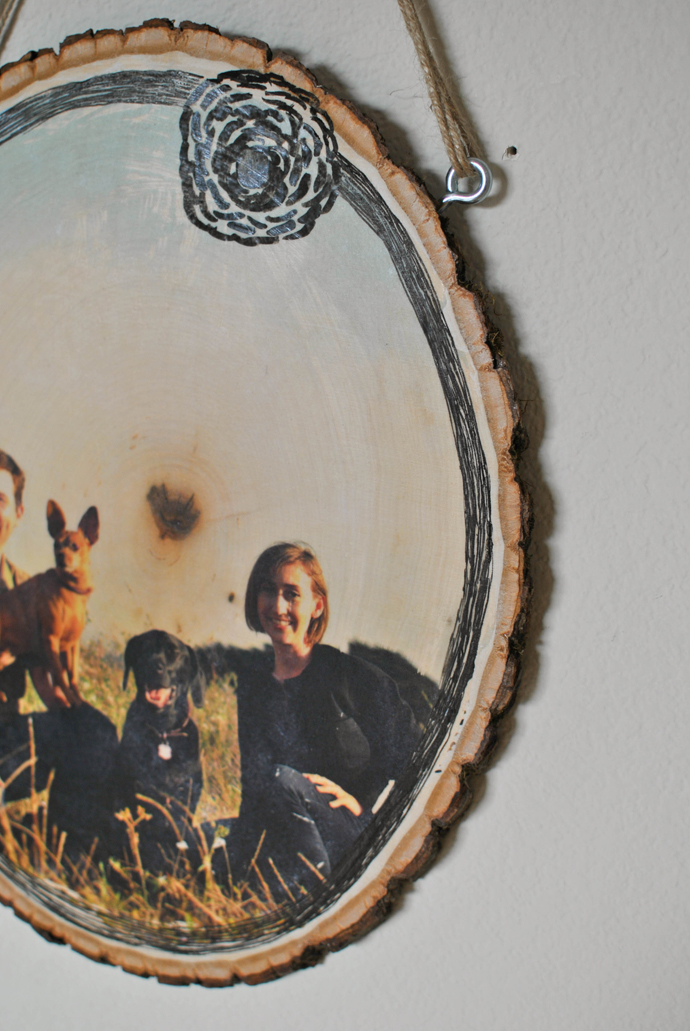
photo transfer, diy, wood, gift, craft
Step 10: Using a drill or screw driver, make two holes on the outer rim of the round wood slab at the place you would like to hang it from. Then, twist the loop screws into the holes until they are secure.
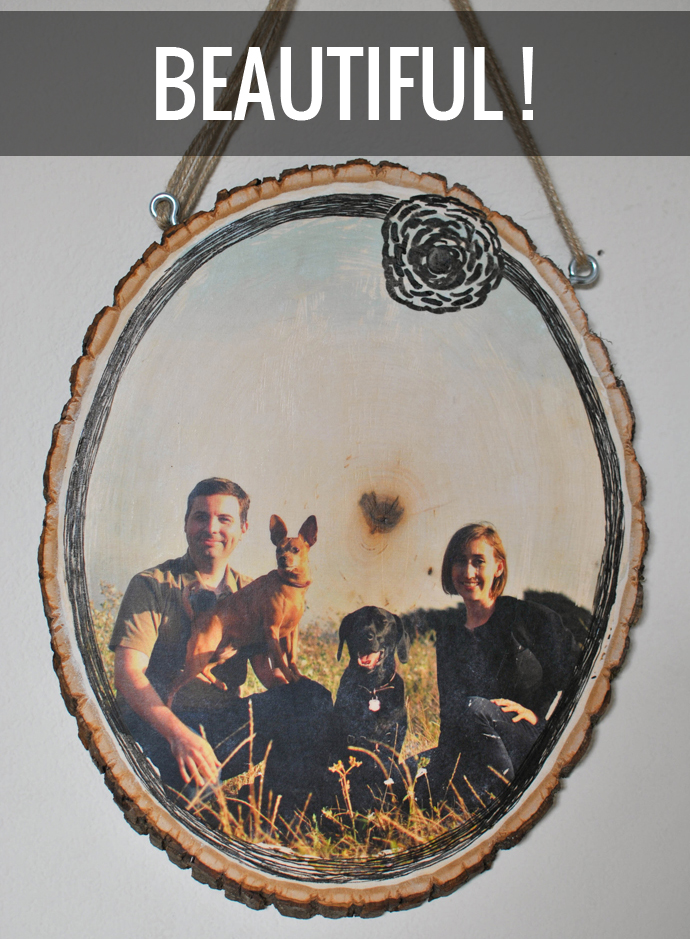
photo transfer, diy, wood, gift, craft
Step 11: Tie the twine between the two loop screws so that your project can hang on the wall.

Step 12 (optional): Use paint, ink, pens or whatever else you would like to decorate your image!

And you're done! This project is really quite easy and provides great results. I have a lot of experience transferring images on to canvas, but I think that I like this process on wood more since the image appears more vibrantly and clearly.

There are so many things you can do with this project and ways you can spice it up. It is a very thoughtful and creative gift that really anyone can appreciate. Plus, it is pretty cost effective for those on a smaller budget.

Now that I have the hang of this process (the first time I transferred an image to wood a few years ago, it didn't turn out so well!), let's not be surprised if everyone gets one for Christmas this year!

If you decide to try this DIY, definitely let me know! Post the finished product on Instagram and tag me :) (Shameless plug: by the way, do you follow me on Instagram???)

Happy Friday and happy crafting!


2.17.2014

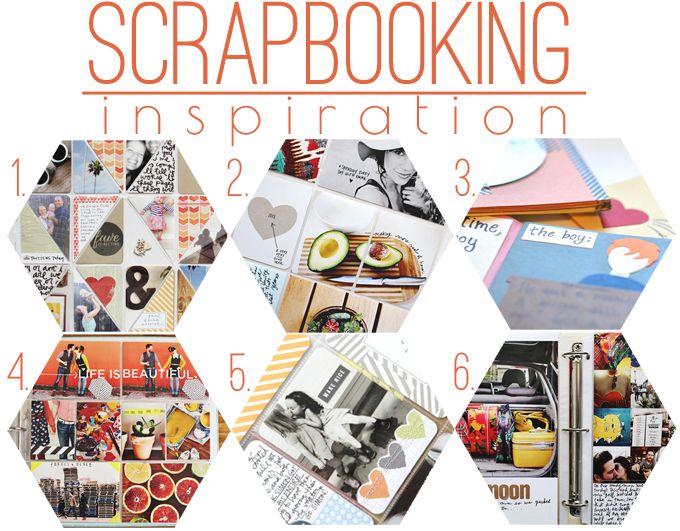
Inspiration // Modern Scrapbooking

scrapbooking inspiration a beautiful mess diy
1 // 2 // 3 // 4 // 5 // 6
If you are anything like me, you have folders upon folders of photos floating around on your computer. I have folders for each month and year on my desktop and other random folders that I just dump photos that I am too lazy to sort into. It is nice to know that they are all there somewhere, but it would be even nicer to actually have a physical copy of my favorites. Sure, I could get a bunch printed, but then what? I look through them when I get them, maybe plan to frame my favorites, forget about it after a few weeks, and then dump the pile into the current box in my closet that holds prints that I have done nothing with after I get sick of looking at said pile. To me, it doesn't really fix things.

I think there is a secret to it though. And that secret is scrapbooking. No, not like grandma style scrapbooking, but modern cool chic hip (insert whatever fun adjective you want) scrapbooking. I don't know why I hadn't thought of it before. It seems so obvious to me now.

I was first intrigued by and introduced to this idea when I read Elsie's Scrapbooking for Beginners post on A Beautiful Mess. It is like a light went on and all I could think is yes, this is what I need. I love the style in which she crafted her book. It is photo heavy, incorporates iPhone photos and DSLR photos well, has personal handwritten journaling notes, is colorful, and so aesthetically pleasing. I am just in love with it, seriously.

After pouring over her post, I clicked through to other posts about scrapbooking featured on ABM, and also found a couple other posts I enjoyed from other blogs. One of these is actually one of my sidebar buddies, Ella of Paper Umbrella! I think the book she made for her boyfriend is just darling.

How do you feel about photos these days? Do you have a method you like already or are you considering something like modern scrapbooking?

Hope all my American friends are enjoying a day off today!


8.14.2012

The system.

Yesterday while helping my dad clean out the garage and compile some stuff for Goodwill, I snagged some good stuff that was going to be thrown out. My creative side just can't let this stuff go!
My favorite item is this hanging flower basket. I really want to "upcycle" it in some way and make something cool out of it, but I just don't know what! I was thinking of painting it and hanging it in the corner of my room. I want it to have a purpose though and can't really figure out what it could be. A blanket holder? I don't need it to be a lamp. And believe it or not, Pinterest was no inspiration for this piece. Ideas guys??? I think it could be something pretty cool.
Candle holder! Again, I was thinking of painting this and maybe adding a design of some sort. Who knows. As I think more about this piece, I think that I don't need it haha. Perhaps make it a gift?
I'm really excited about these three little pots! I think I will paint them and add a chevron pattern. Grey and white? Sounds good. Who knows where I'll put them or what I'll end up making them into, but after a good scrubbing, they should be ready for a DIY!

Also, I realized today while taking a carload of stuff to Goodwill (Marly sat on my lap the way there. That's how full my car was) that 90% of the stuff we donate on a regular basis is stuff my dad found, kept around for a while, then finally decided we didn't actually need it (like I told him all along), AND THEN I get the job of hauling it all off to Goodwill. Well, at least we have a system.